

$500.00 – $600.00
TeeHee was the first wireless bridge built specifically for DIT’s. With an OpenWrt-based OS, integrated mounting points and comprehensive documentation for newcomers, it ushered in a new era for camera control. It remains the most robust made-for-set wireless bridge for camera control with its unique combination of open-source hardware and software that gives you endless configuration possibilities—for camera control and beyond. It can even be configured as an access point!
Features
Gigabit RJ45 ports for wide compatibility with all major cinema cameras, including every body listed in the Camera Gallery
30 second boot time; UPS variant offers zero-downtime camera control
5-50V 2-Pin Lemo power input
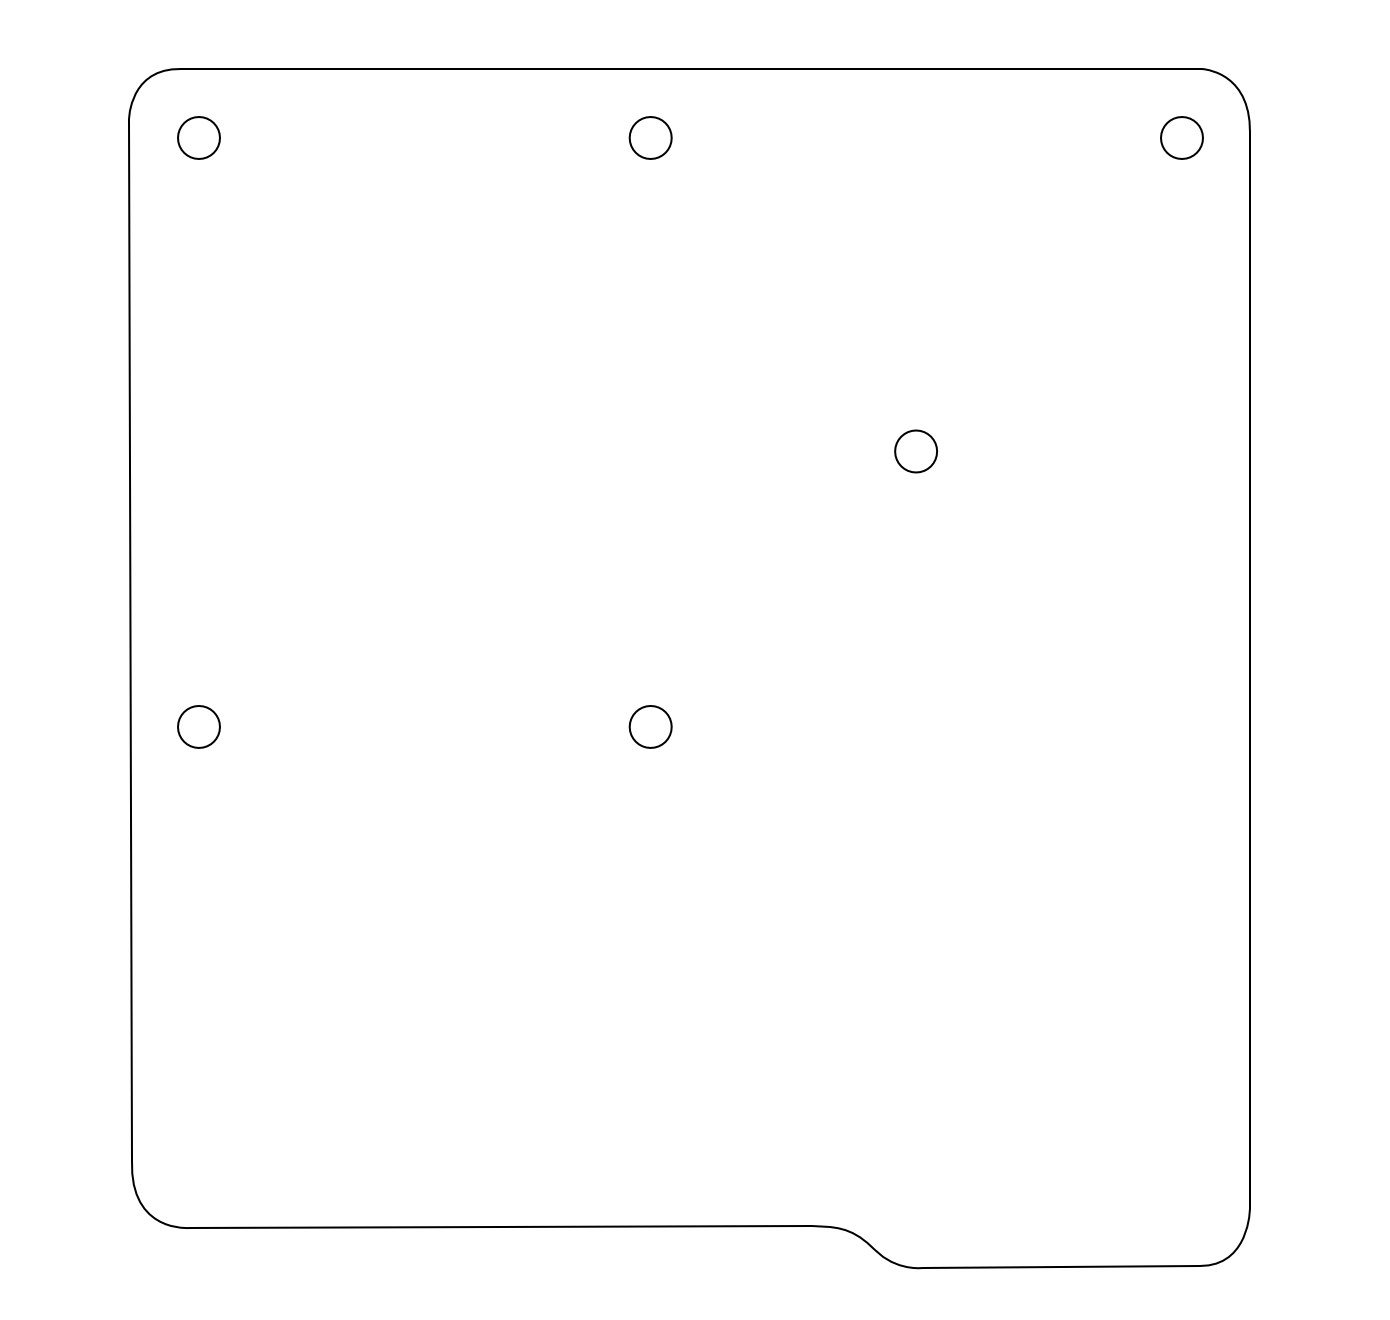
Integrated threaded female mounting points: 1/4”-20 and 3/8”-16, each with 45-degree anti-twist pin holes for eight discrete orientations
User-replaceable external antenna mounts (RP-SMA female)
Specs
CNC’d out of 6061 aluminum
Unit dimensions of 2.6 in x 2.6 in x 1.3 in / 67 mm x 67 mm x 33 mm for box only (sans antennas)
Weight of 231 g (no internal UPS) / 245 g (with internal UPS)
OpenWrt-based OS (pre-imaged and clone-able)
Purchase Includes
1x pre-imaged TeeHee
2x RP-SMA 2.5” orientable antennas (RP-SMA male)
1x microSD card (for troubleshooting and OS maintenance)
This product does not include any accessories beyond those listed above. I do offer power and data cables for sale separately.
Digital Downloads
All of my products are open source—even TeeHee! Here’s what you need to make this yourself:
Bill of Materials (One unit per component unless otherwise specified)
Assembly Instructions

FriendlyElec Resources
At this time, I am not selling any “kits” to assemble TeeHee yourself, so you will have to source machined enclosures from your own vendor. Eventually I would like to design a 3D printed enclosure that is robust and reliable—but, ya know, only so much time. If you’re interested in voluntarily designing a 3D printed enclosure for this project and sharing it with the community, please contact me.
To see what tools I use to make this item, please review my Workshop Setup.